JIRA integration
This guide walks through the process of setting up the Jira integration with our platform. The integration allows ConveyorAI to intake questionnaires on issues, add comments to issues, and update statuses.
Prerequisites
- Admin access to your Jira instance, so you can install our Forge app.
- Access to your organization's preferences in our platform
Installation Steps
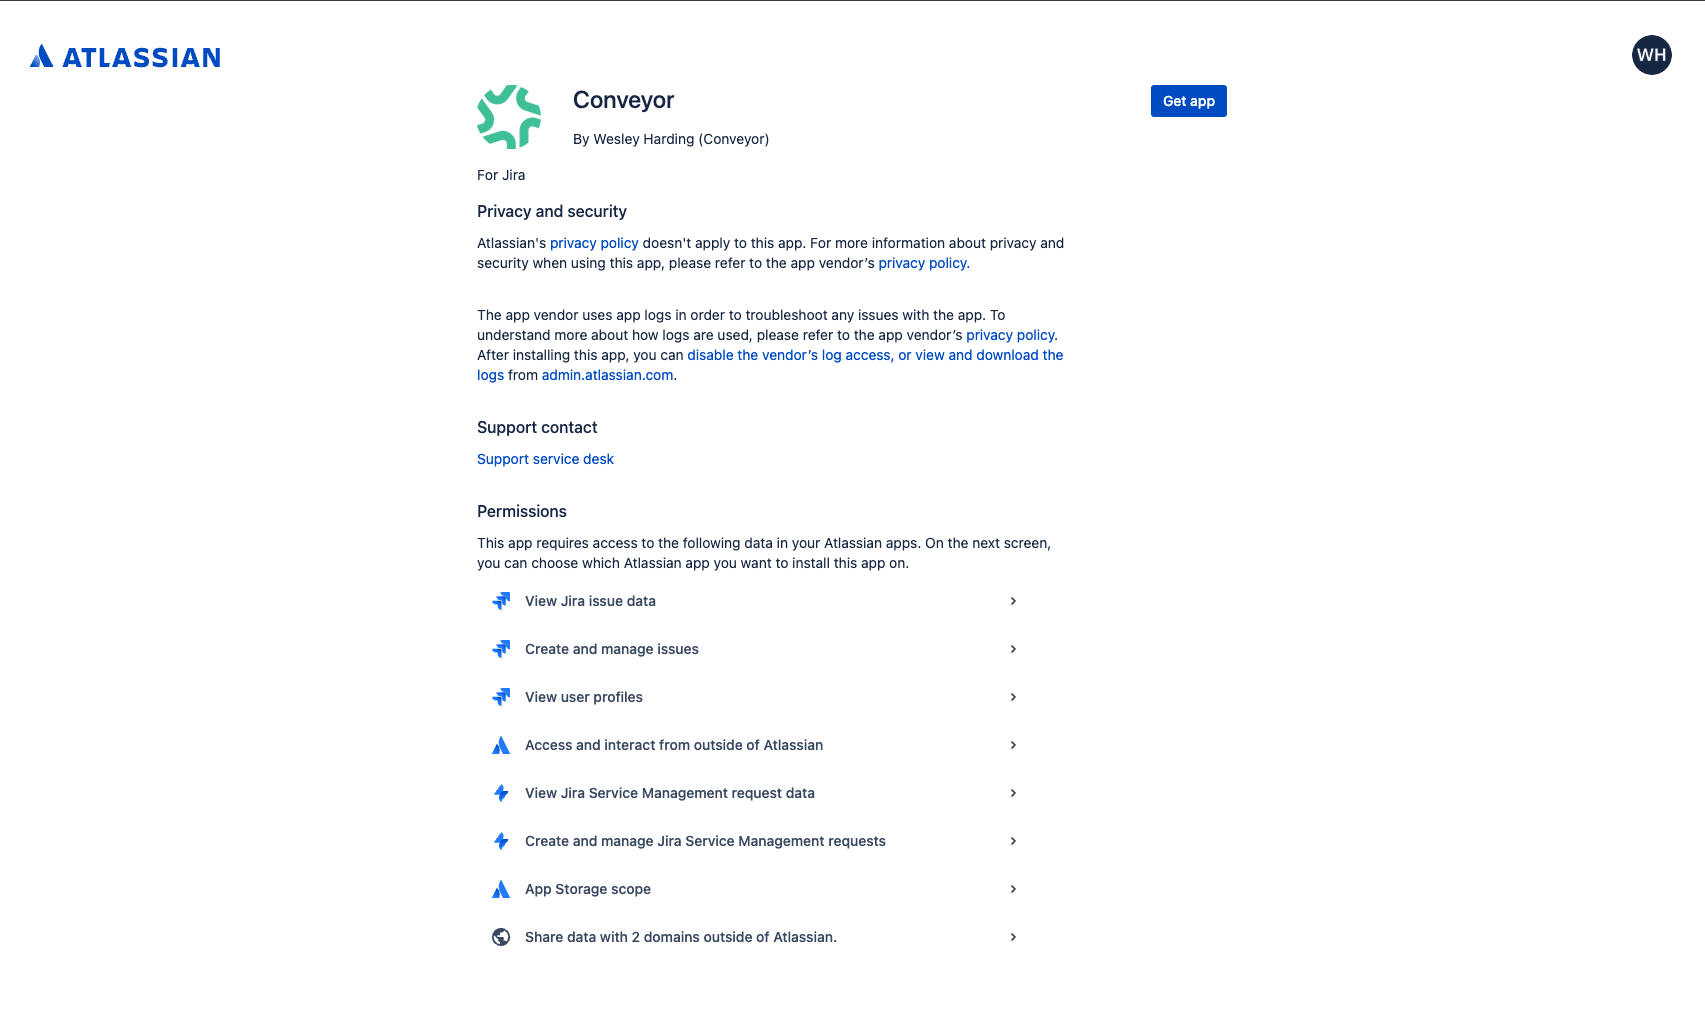
1. Install the App
Note: For initial preview users, you'll receive an installation link. Once available in the Marketplace, the app can be installed directly from there.
-
Click the installation link provided
-
Follow the Jira permission screen to authorize the installation.
-
Wait for confirmation
2. Configure API Connection
- Navigate to the Jira app management page
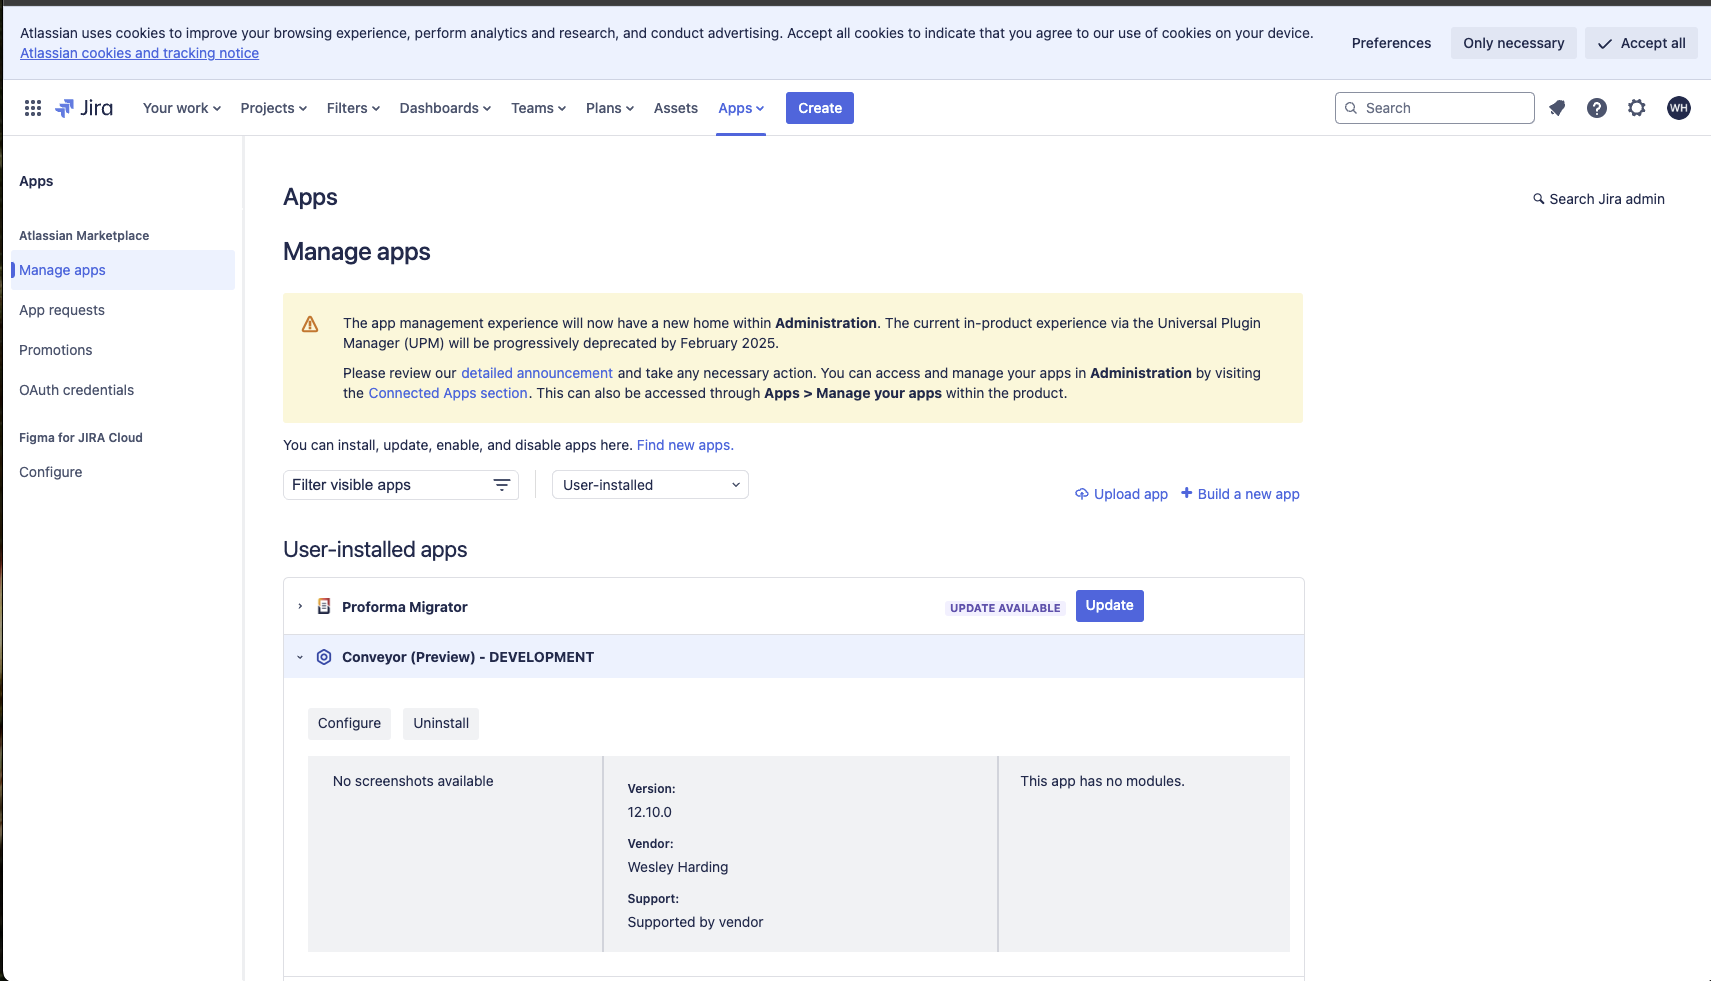
- Navigate to the Jira app configuration screen

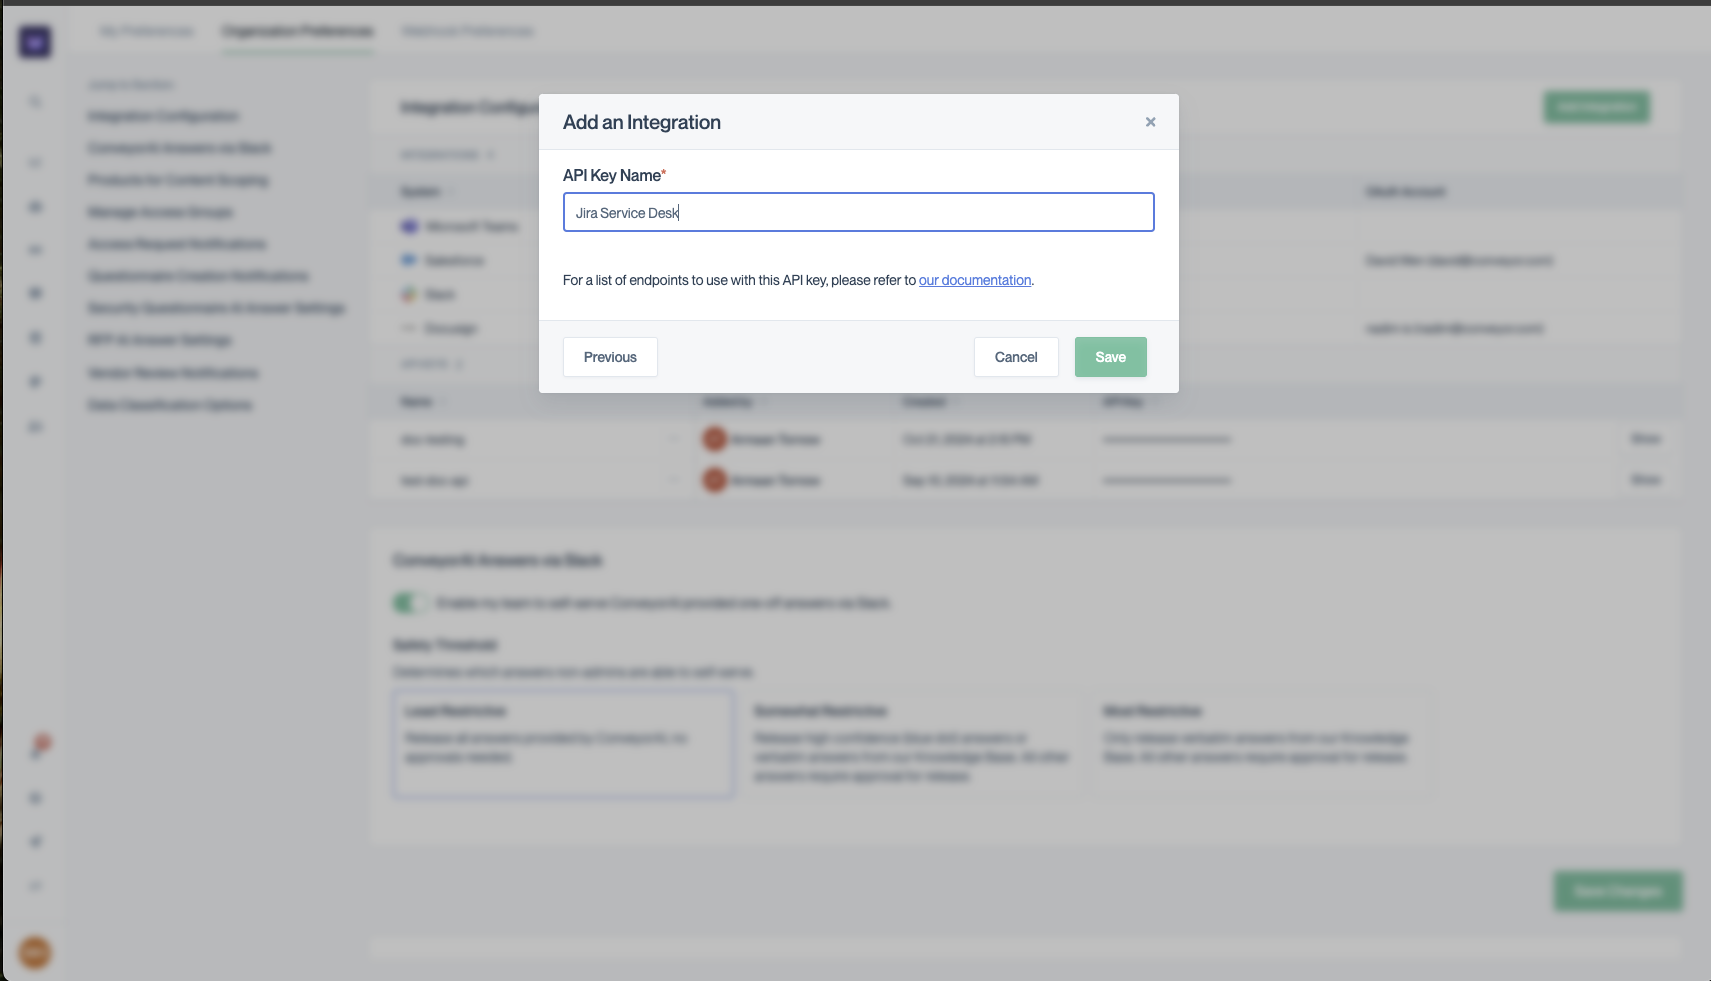
- Go to your organization preferences in our platform
- Add a new integration:
- Select "Converor API" from the integrations list
- Enter a name for the key, like "Jira Service Desk"
- Click "Save"
- Click "Show" to reveal the API key
- Copy the displayed API key
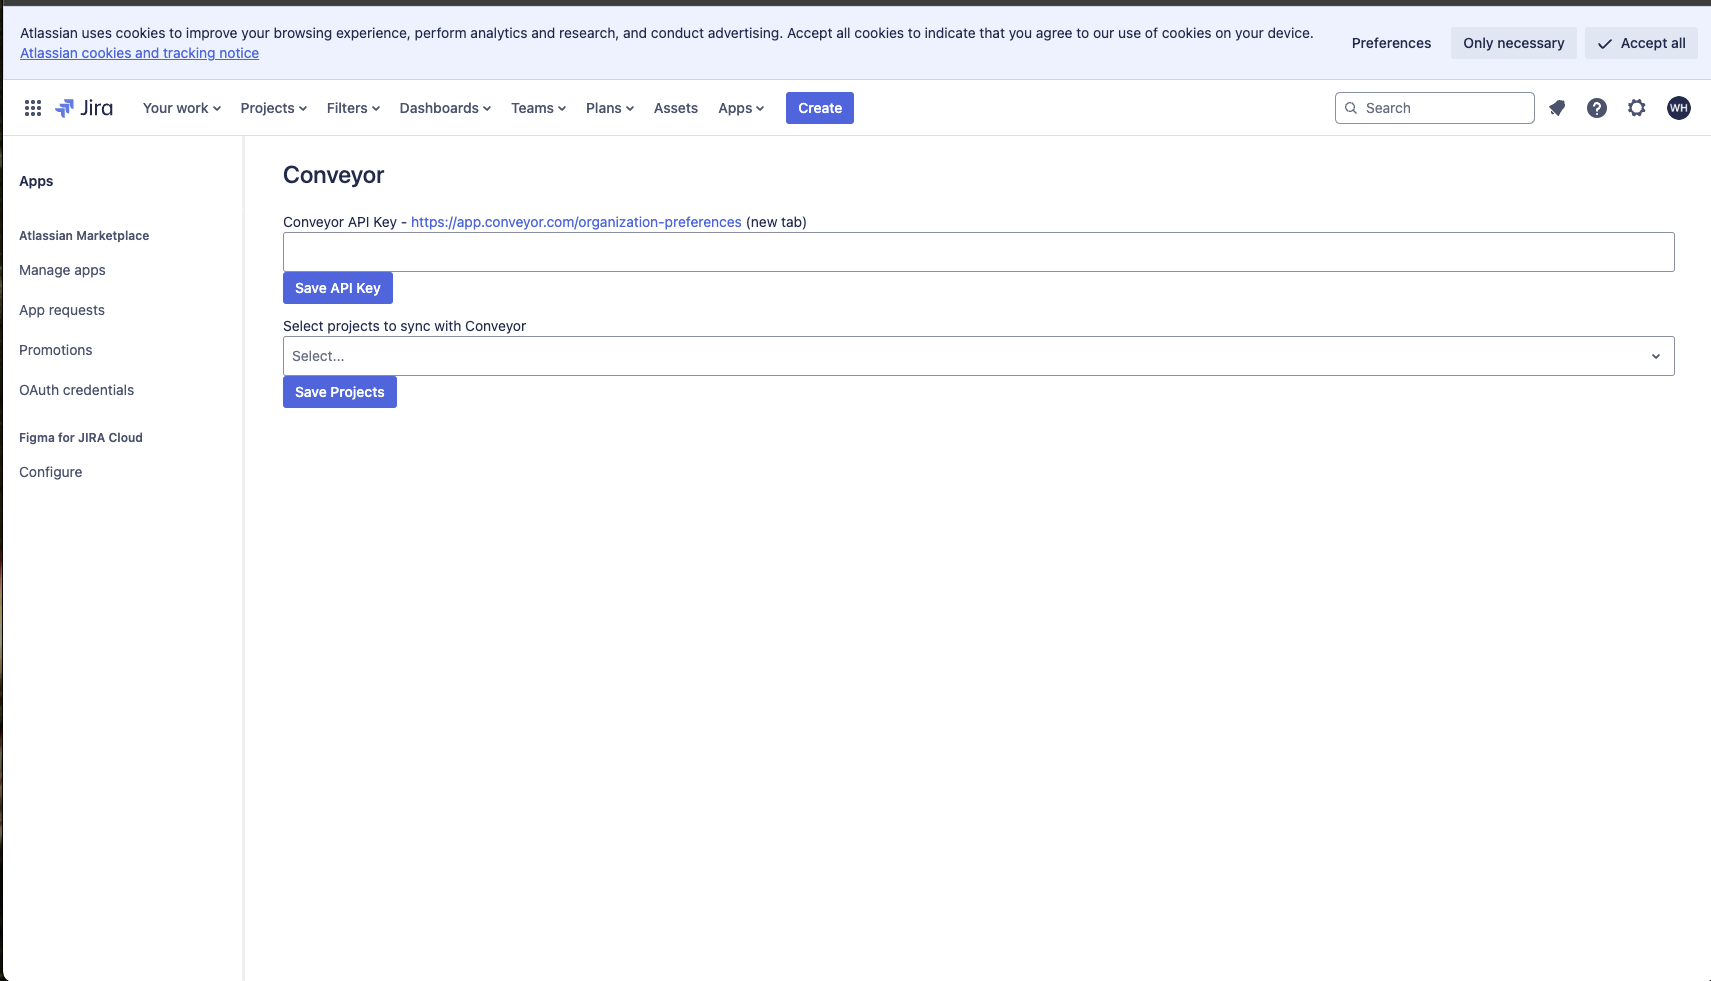
- Return to the Jira app configuration
- Paste the API key into the API key field
- Click "Save API Key"
The system will automatically:
- Identify your Jira instance
- Configure necessary connections
3. Project Selection
Since Jira is often used across multiple teams, you can selectively choose which projects to sync:
- Locate the project search box in the configuration
- Search for your desired project(s)
- Select the projects you want to integrate
- Save your selection
Troubleshooting
If you encounter any issues:
- Verify your API key is correctly entered
- Ensure selected projects are still accessible
- Check for any error messages in the configuration panel
Support
For additional assistance or to report issues, please contact our support team.
Updated 3 months ago
Did this page help you?