Document access
The documents that you add to your Trust Center can be set to four levels of access, from "most open" to "least open":
- Anyone: These documents are available on the Public view of your Trust Center, meaning they do not require access approval or an NDA. Great for marketing materials like SOC 3s.
- Approved customers: These documents are available to all Trust Center visitors whom you have authorized to access your gated content and who have an NDA in place. Great for most confidential documents, like your SOC 2 Type II report.
- Some approved customers: These documents are only available to approved Trust Center visitors with the appropriate access groups (see below). You can then grant specific user emails or entire customer domains these elevated permissions. Great for more sensitive documents, like your Full Pentest Report, or customer-specific information.
- Internal Only (Default): These documents are not visible to any of your visitors. They are for internal purposes only, such as a source of knowledge for the Questionnaire Automation. ☝️Note: "Internal Only" is the default access level when adding new documents.
Using access groups to manage "Some approved customers"
When you select "Some approved customers" as the access level on a Document, you must then apply (or create) an Access Group to specify which approved customers can access the document.
Creating and assigning access groups on individual docs
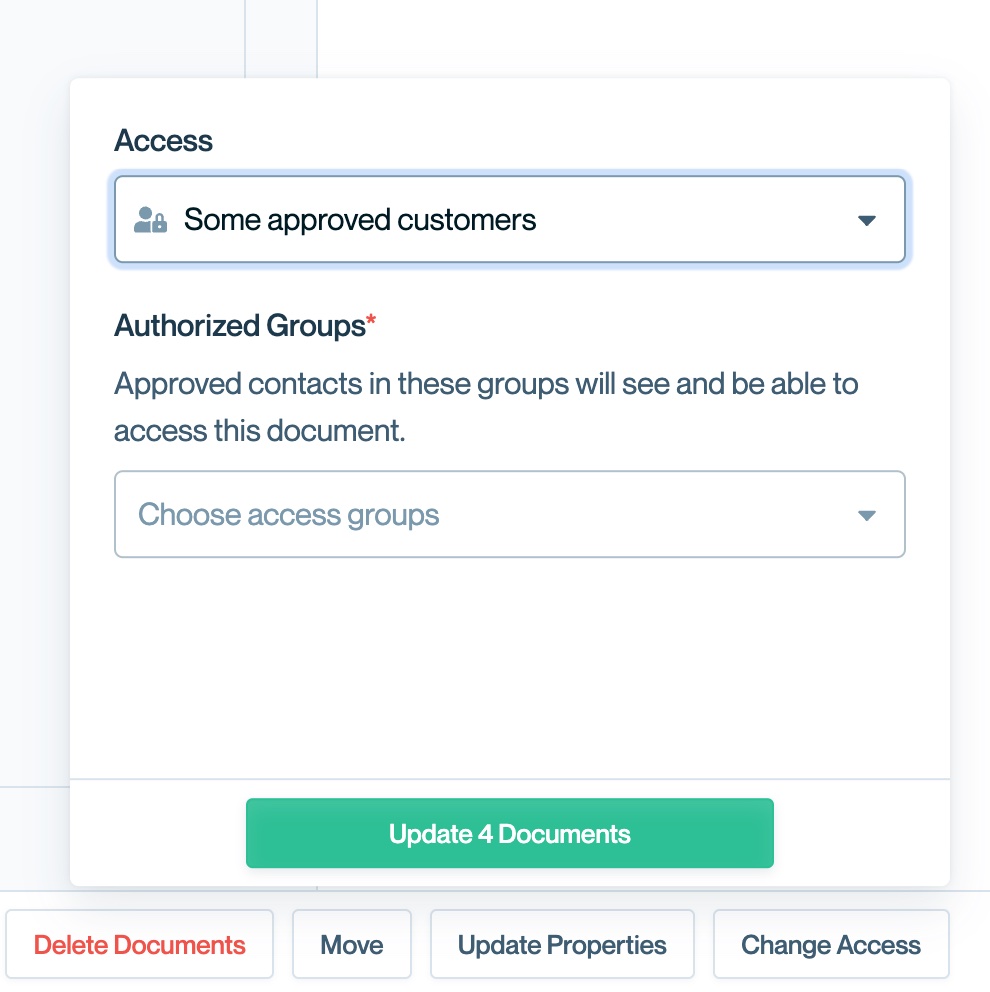
Whether you are adding a new document or editing an existing one, you can create and assign access groups at that time (see Editing Documents). Select "Some approved customers" under "Access" to bring up the existing Access Groups:
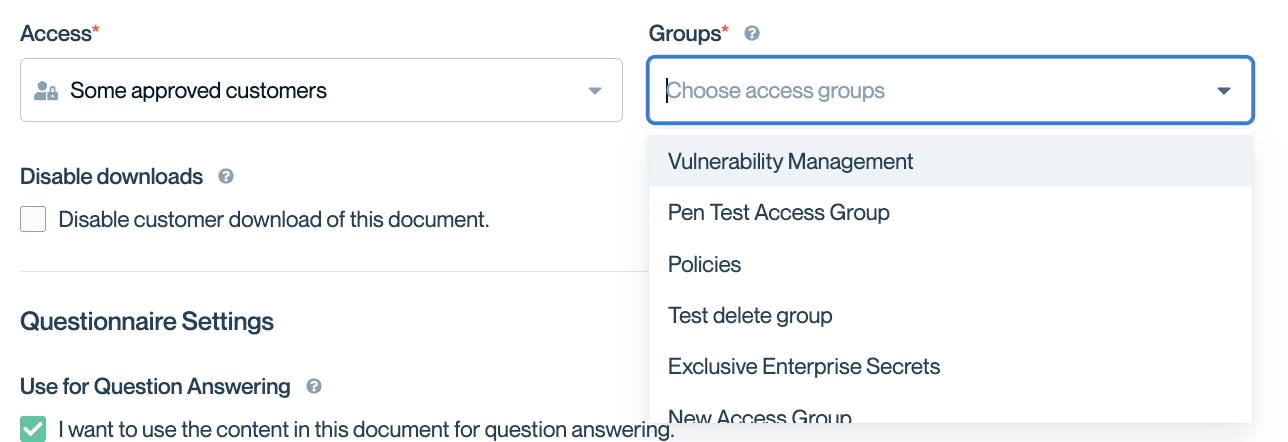
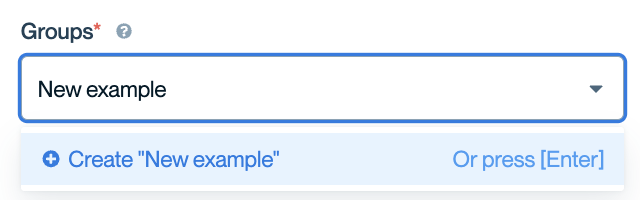
If you need to create a new access group, you can just type the new access group name in this field and hit Enter.
Bulk-edit access groups
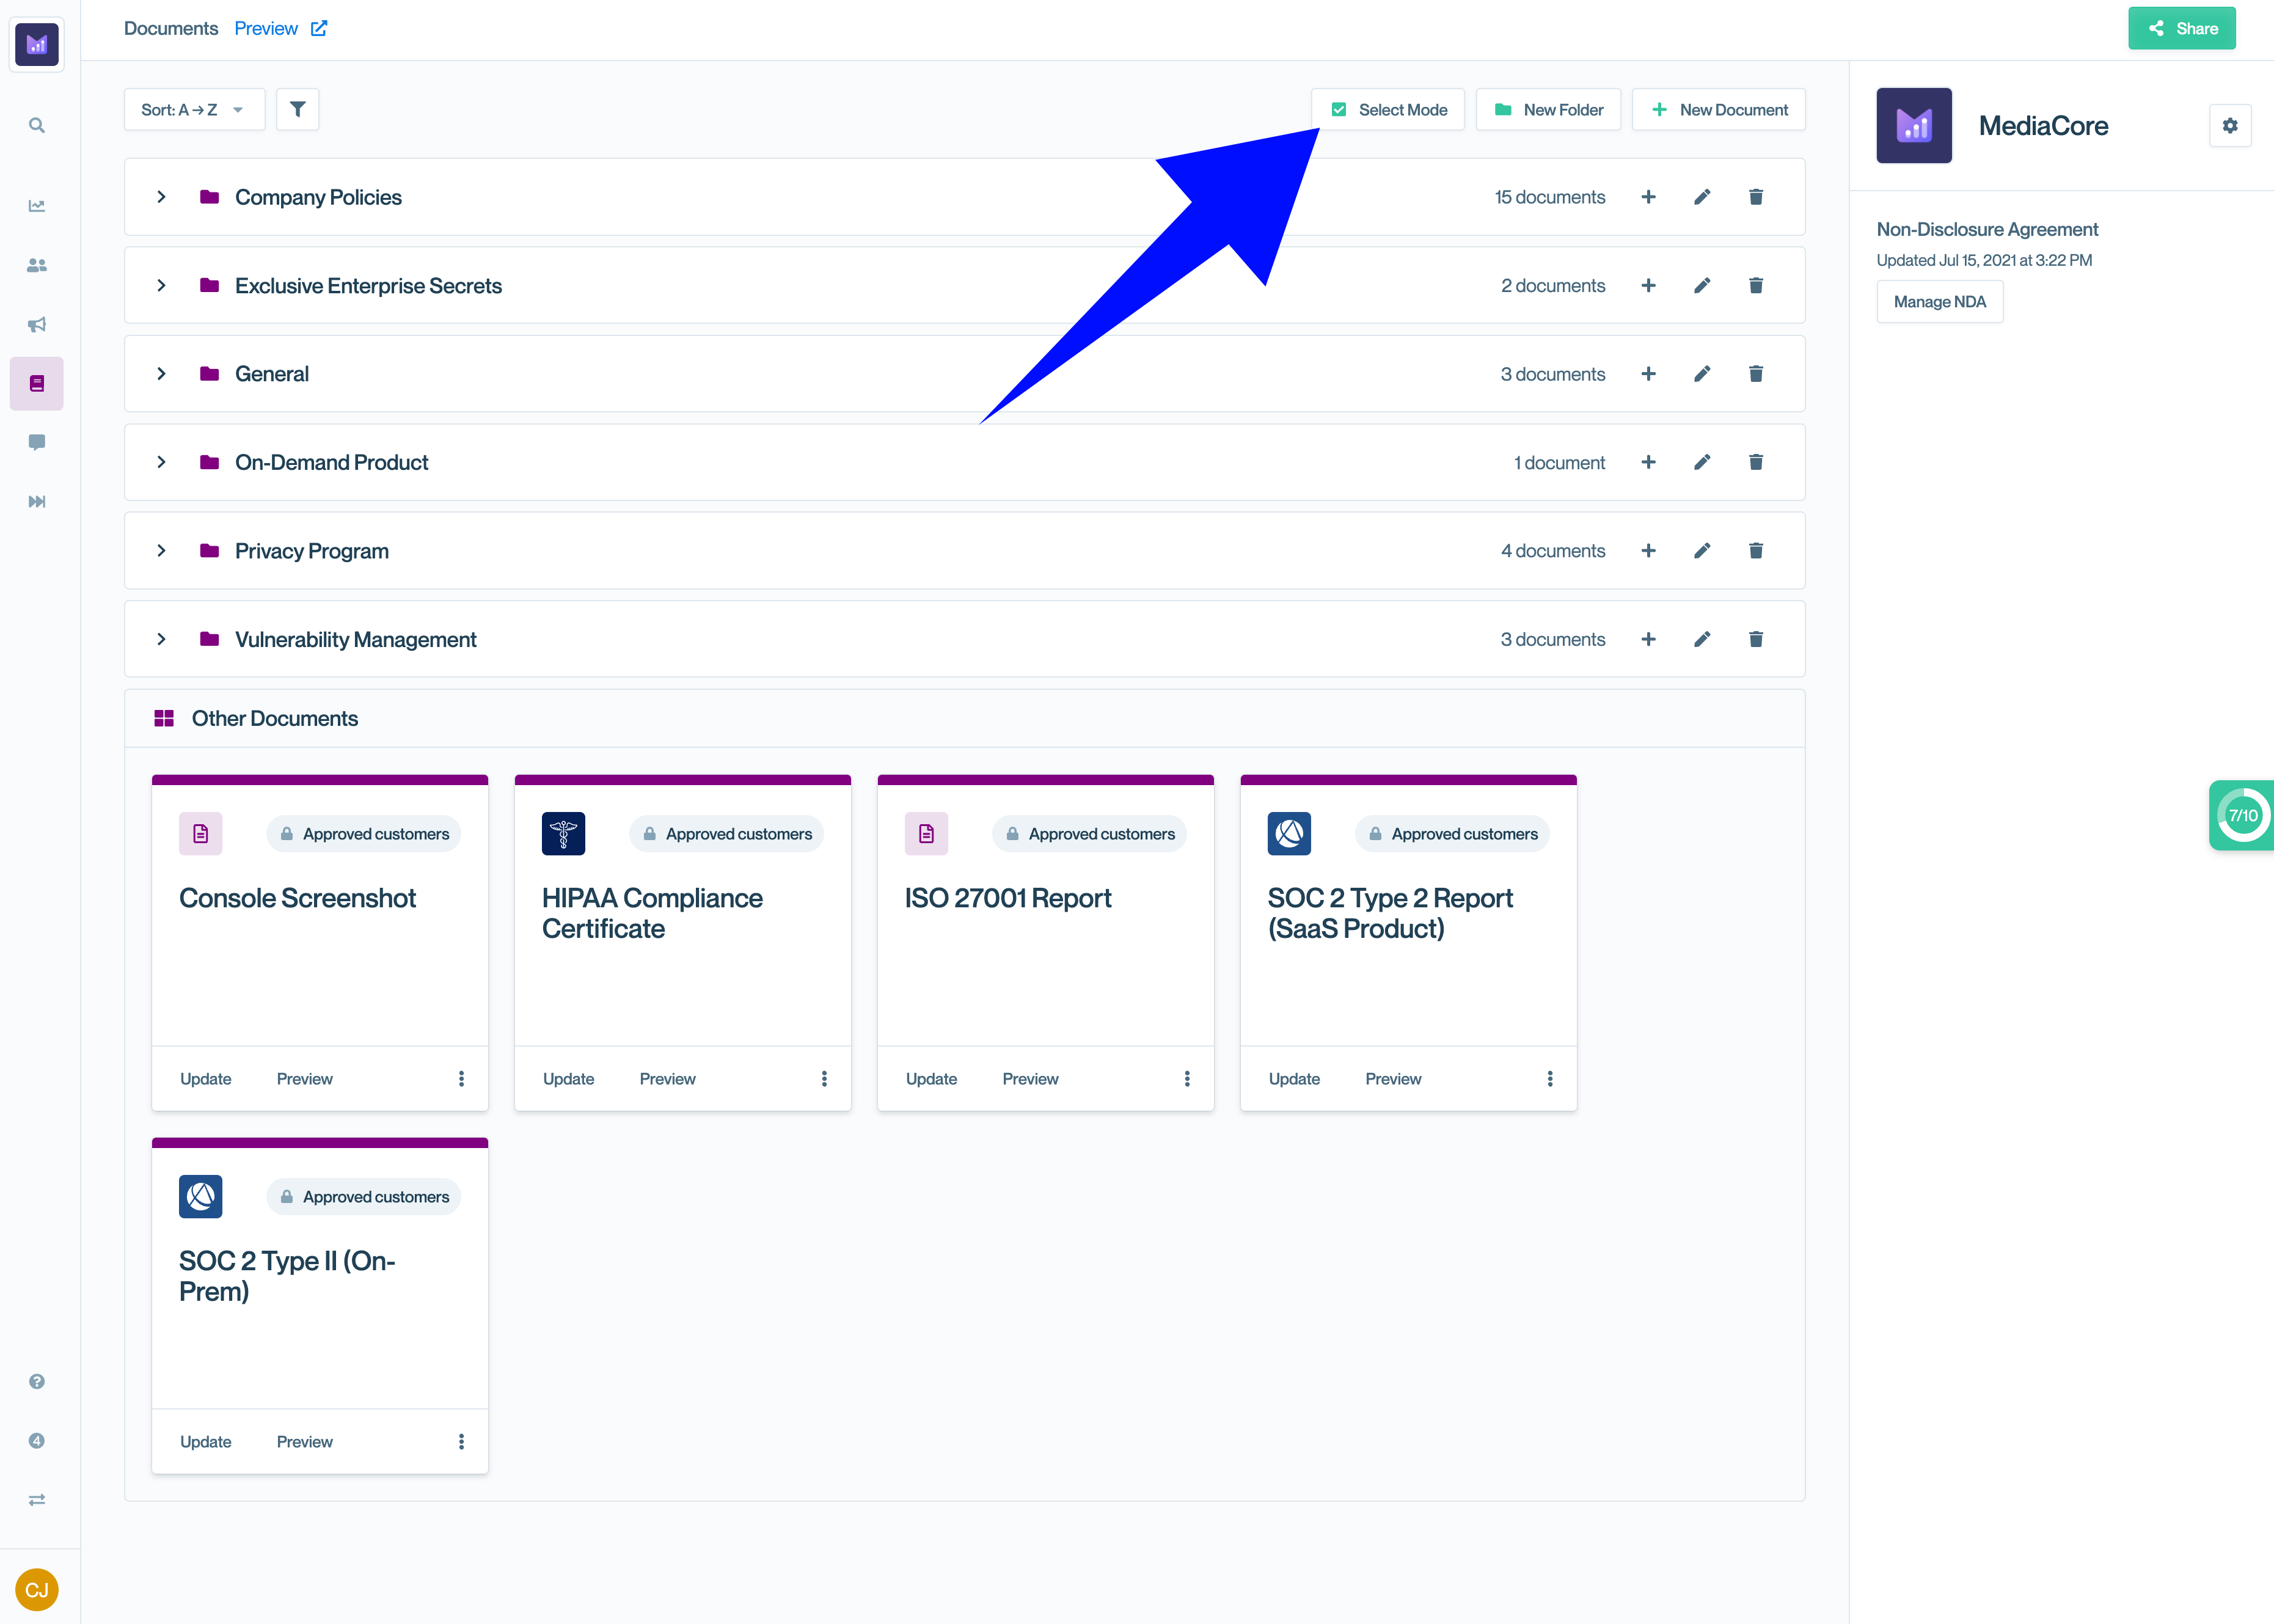
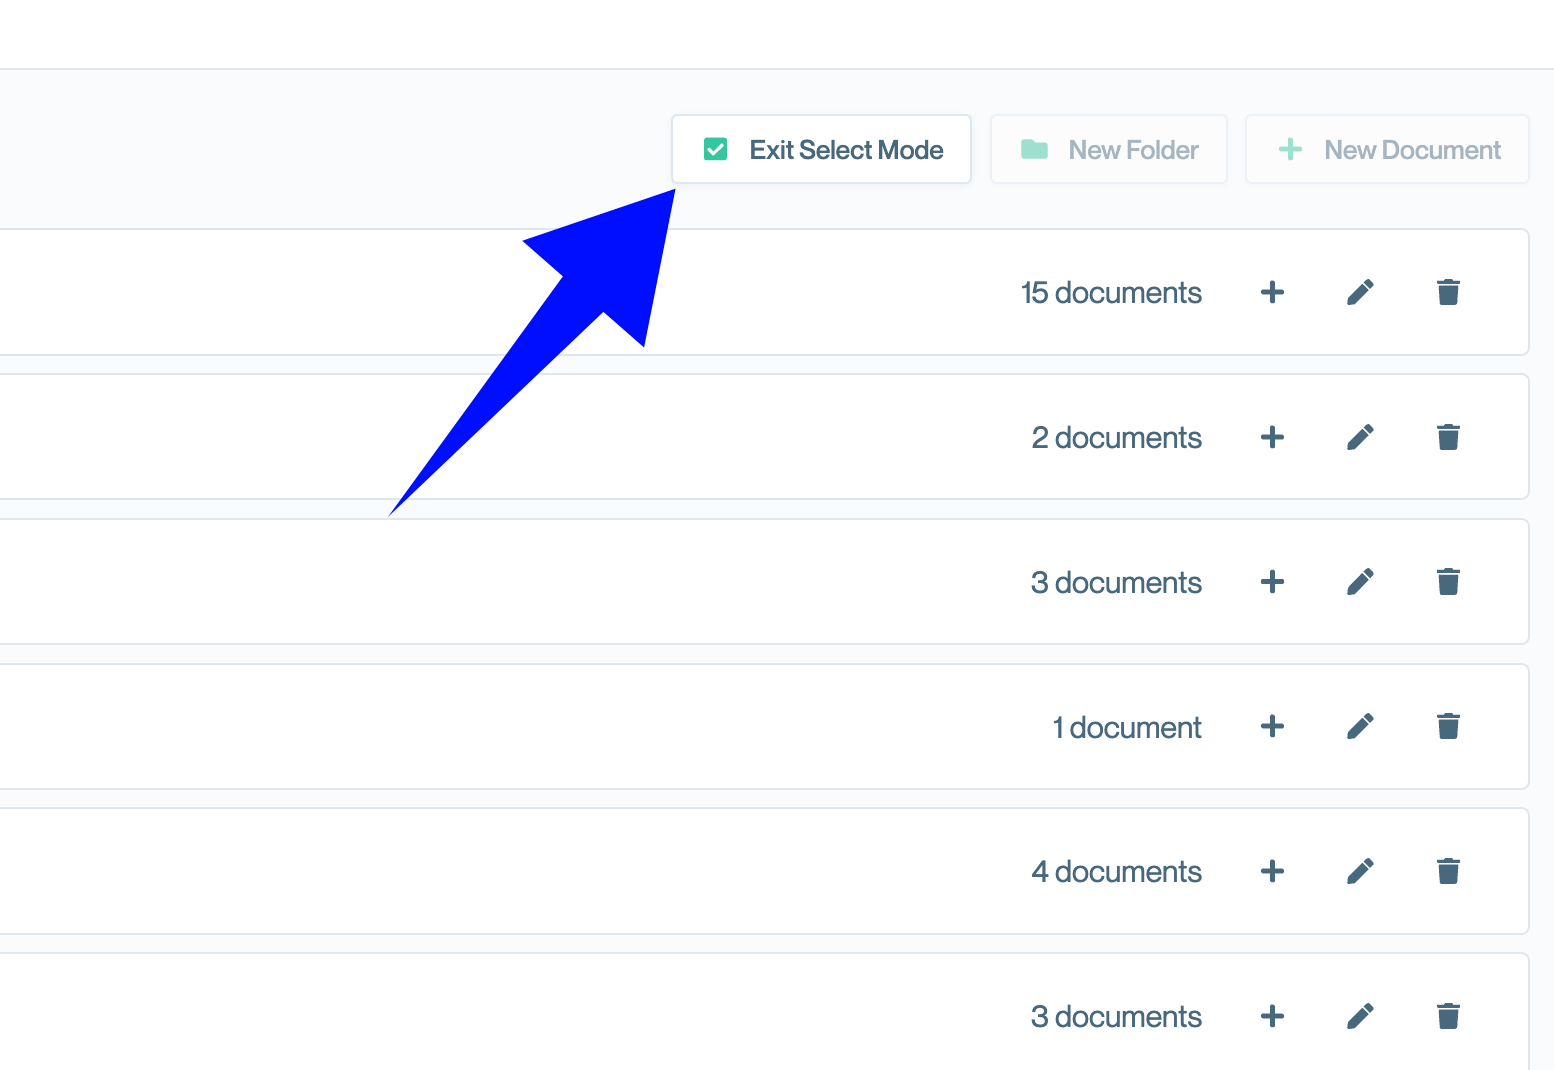
If you need to update the access groups on multiple documents at once, it is easier to use the Bulk editor. Click "Select mode" on the Documents page:
In Select mode, you can then select single documents or entire folders. Conveyor will tally the number of documents you have selected at any point in time at the bottom of your screen:
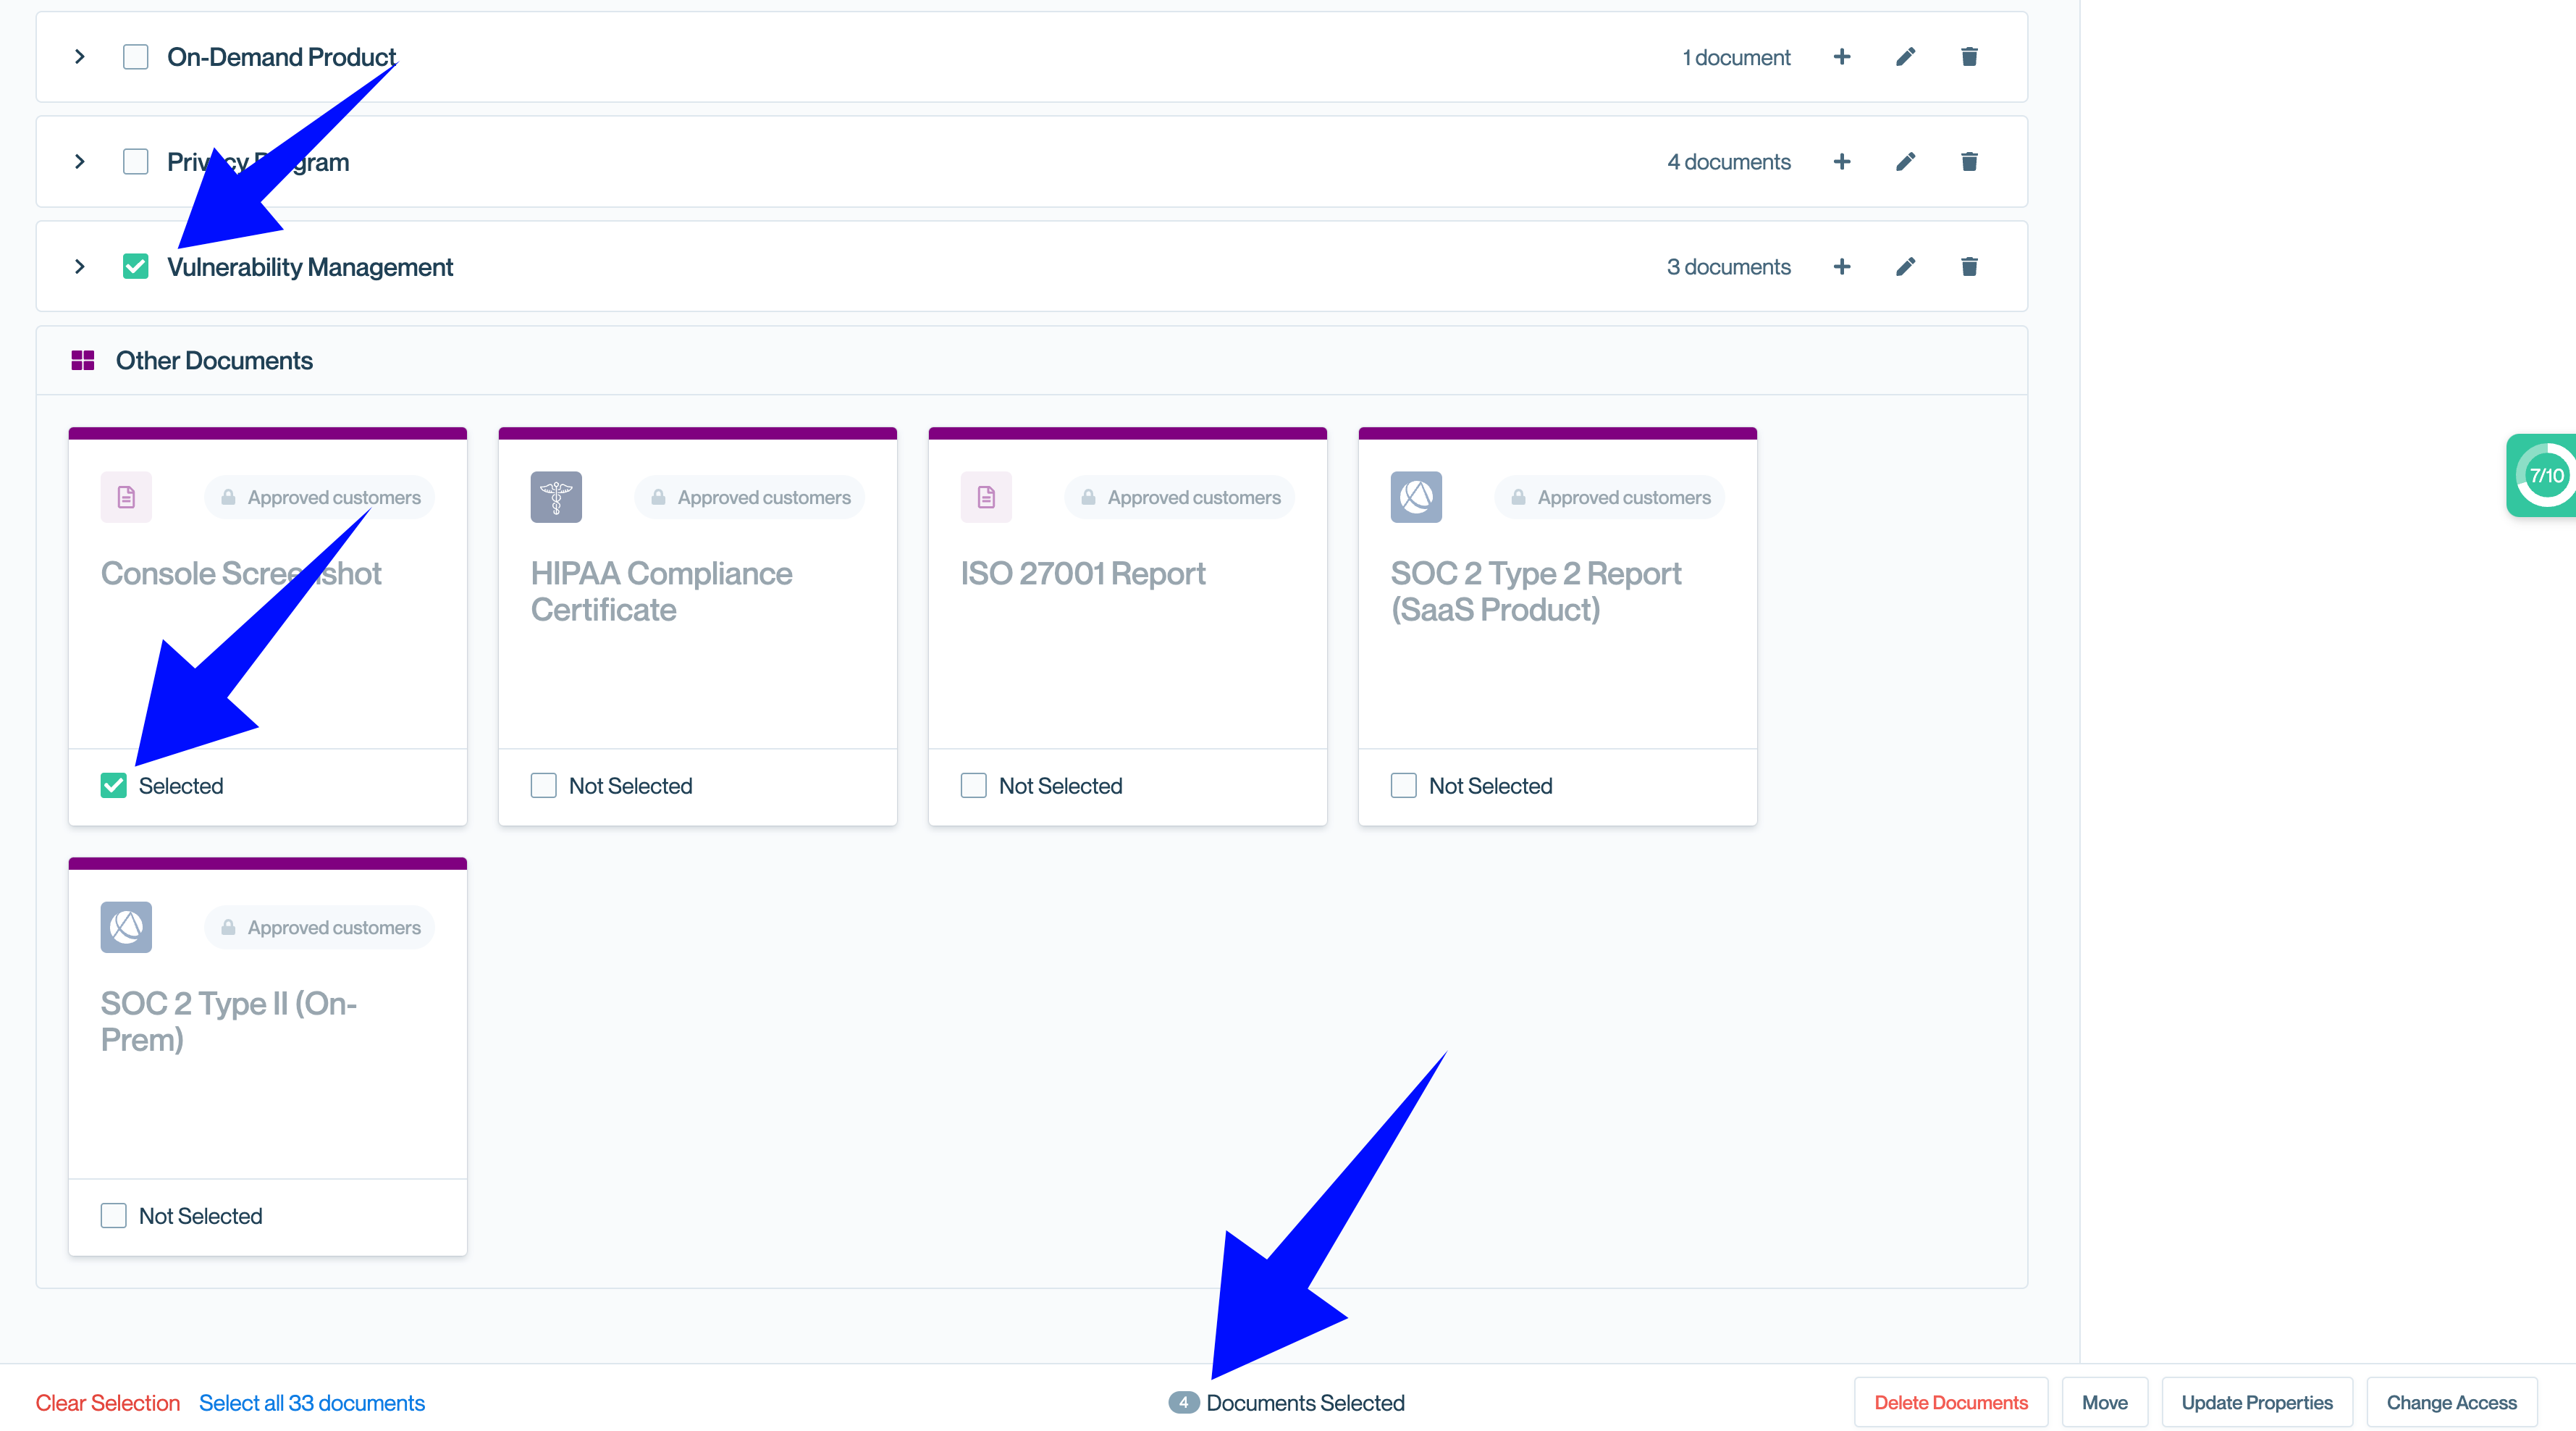
To bulk-edit access groups, click "Change access" after you have selected the relevant documents.
You can then hit "Exit select mode" to get back to normal interactions.
Managing, editing, and deleting access groups
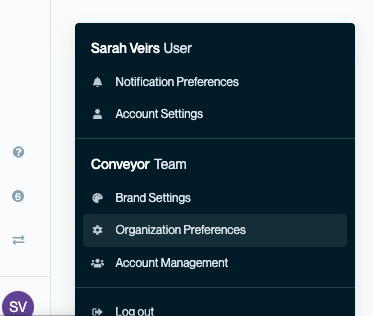
If you need to edit the name of a given access group or delete on, start by navigating to your Organization Preferences in the bottom left hand corner.
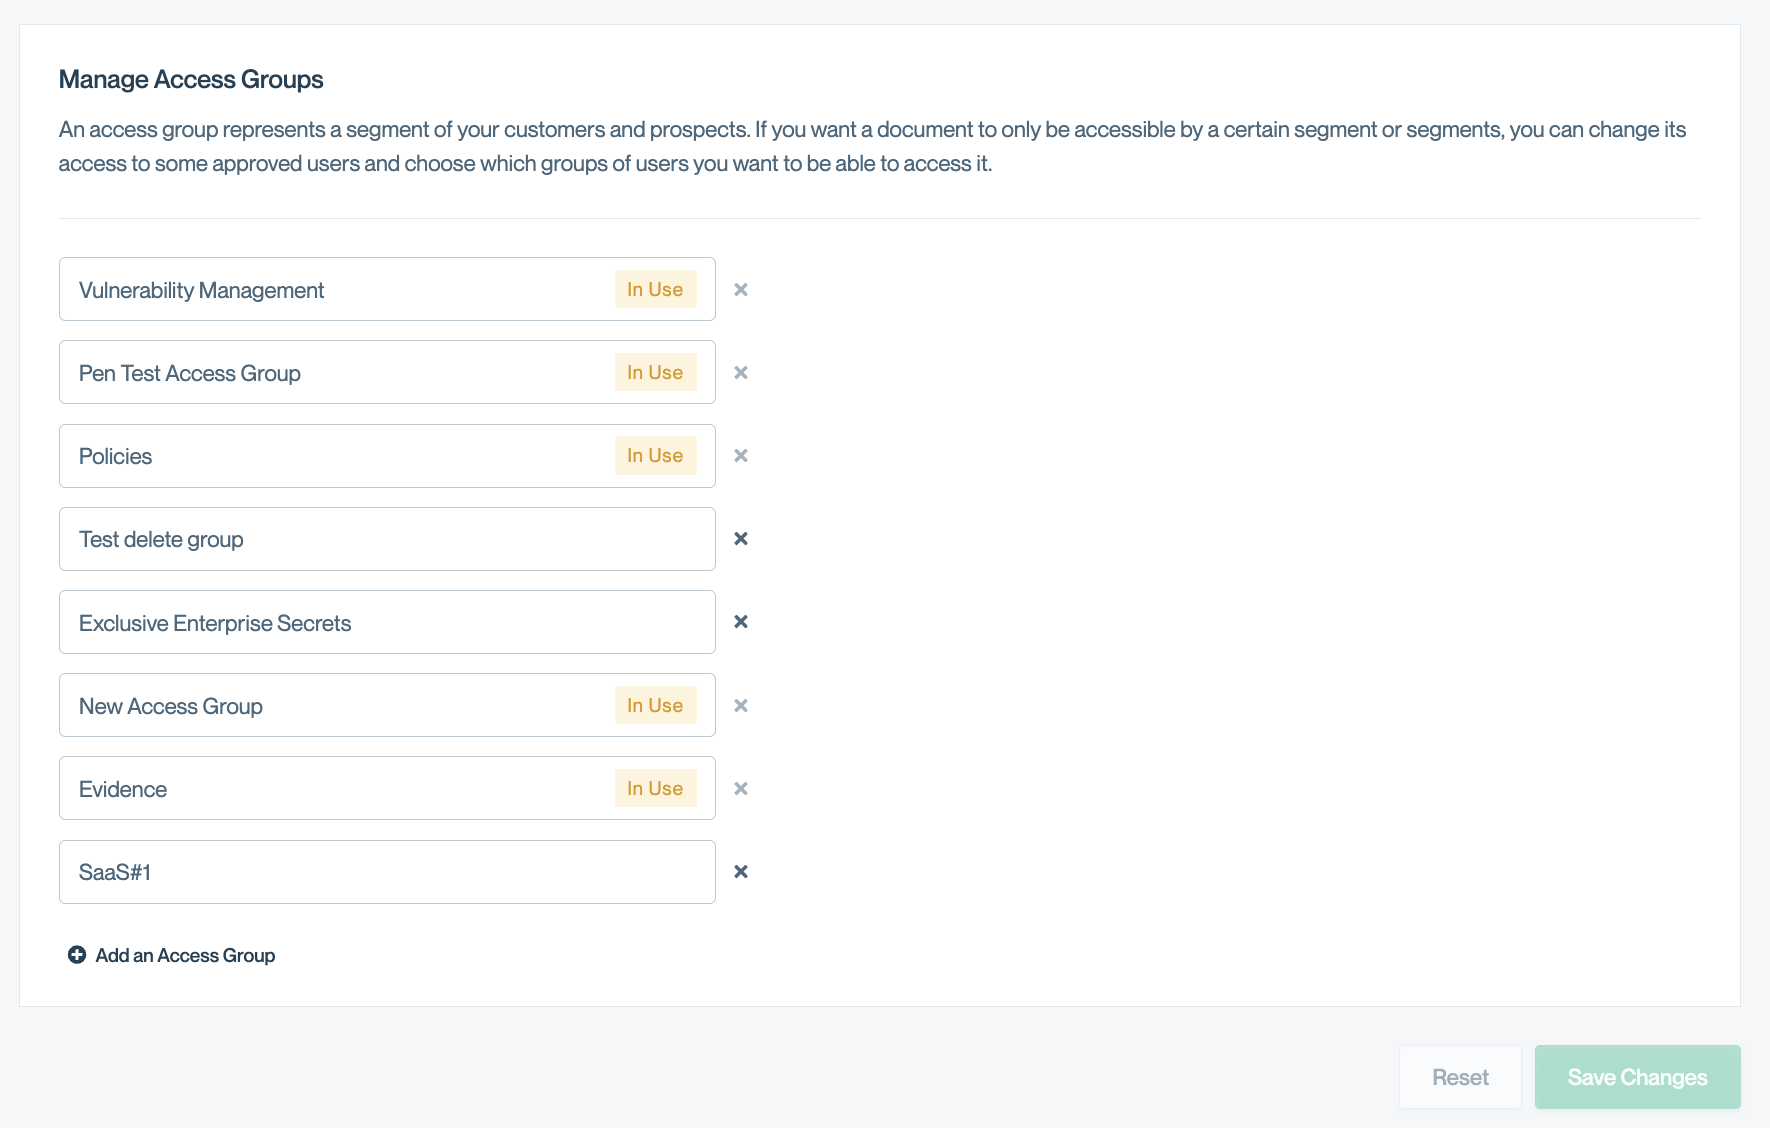
At the bottom of the page, you will see all current access groups and can edit and remove from here.
Updated 18 days ago