Inviting from Salesforce, Managed Package button
Overview

If you would like to be able to invite contacts to access your Trust Center directly from Salesforce, you can do that with the Conveyor Managed Package and some configuration in your Salesforce instance.
We will be walking through how to add our Invite to Conveyor button to the Contact object, but you can also add this same button to the Account object. If you do, the email will be a blank input for you to invite any email to Conveyor.
Add a new button to Contact Layout
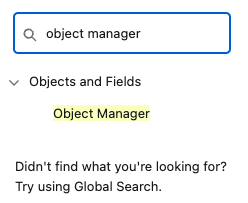
- Within "Setup", in the left panel's quick search input, type "object manager" and click on "Object Manager" under "Objects and Fields"
- Find the label "Contact" and click into it

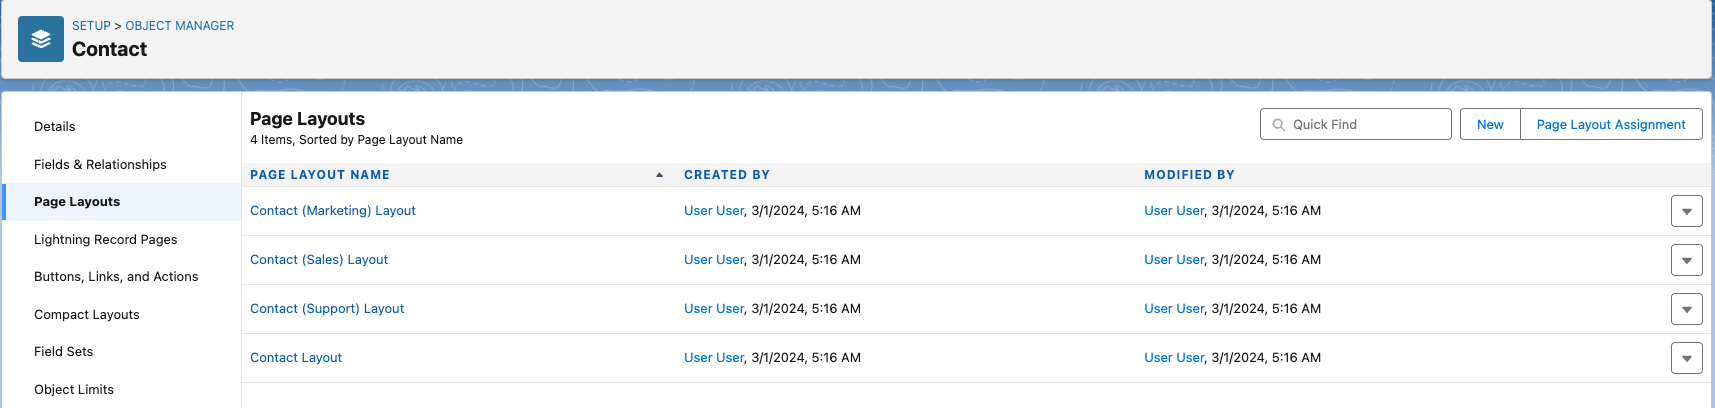
- In the menu on the left, click "Page Layouts"
- On the right, click the layout you want to change. In our example, we will change "Contact Layout"
- In the top, find and click the section "Mobile & Lightning Actions" section. You should see "Invite to Conveyor" as one of the buttons.
- Drag the "Invite to Conveyor" button down to the section "Salesforce Mobile and Lightning Experience Actions" section. Move it to the location where you'd like to see it. In our example below, we moved it to the first position.


- Click "Save" back at the top
- Note that this is a place where you can manage permissions on who can see this button - see our Permissions section here for more
Customizations
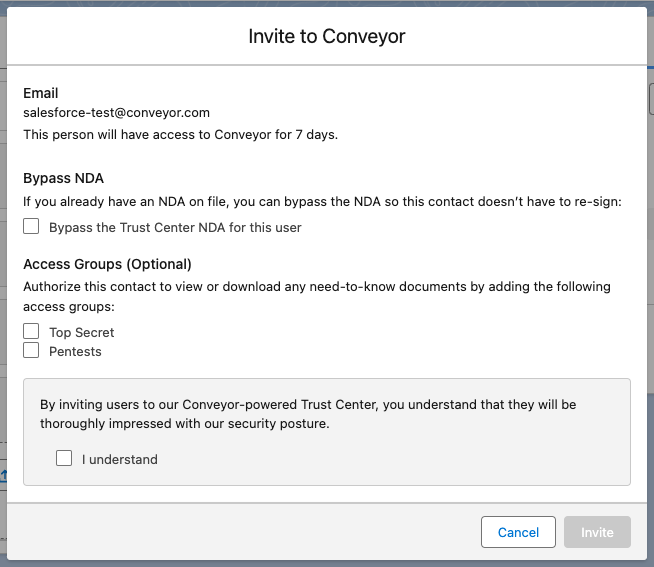
By default, when you first add the Invite to Conveyor button, your modal will look like this (if you have access groups set up in Conveyor):
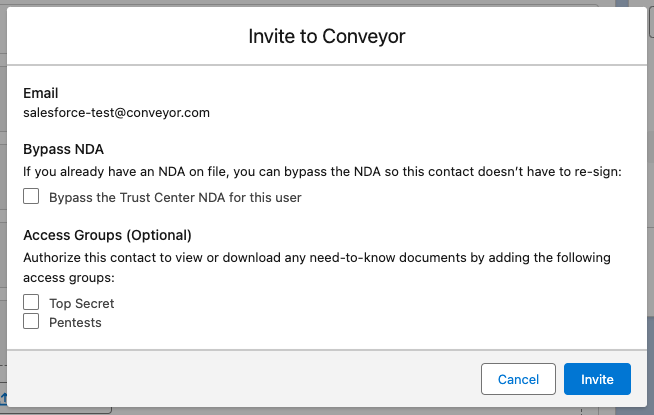
If you'd like, you can control the following elements on this modal:
- Whether to show the "Bypass NDA" section or not (default is show)
- Whether to define a validity period for the invite (after which access to Conveyor will be revoked for the invitee - the default is unlimited validity)
- Whether to add a custom disclaimer text that the user has to click "I understand" before being allowed to invite (default is no disclaimer)
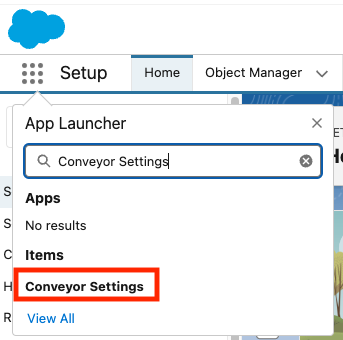
You can find these settings in the "Conveyor Settings" tab by searching for that in the App Launcher:
When you first get there, you will see a tab with no records if you have not created one previously. Click "New" to create a record (we're only going to be creating one).
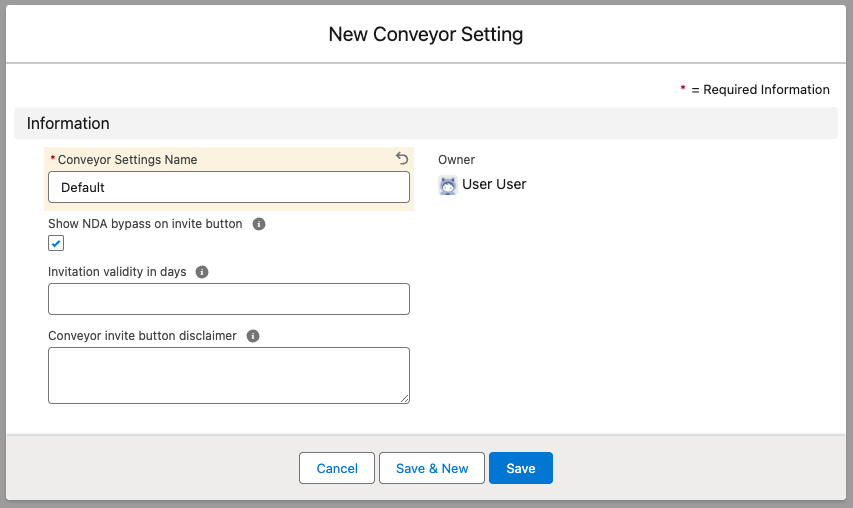
For the "Conveyor Settings Name", you must put "Default". The other settings are up to you.
Note that for the "Conveyor invite button disclaimer", in addition to plain text you can also put HTML in there if you need things like bullet points.
You're done!
That's it! Now, when you go to a Salesforce contact's page, you should see the button there:

Clicking on it shows a modal:
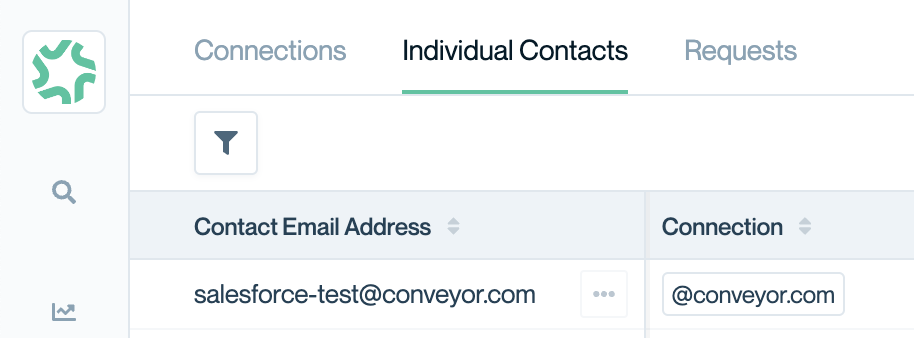
Clicking "Invite" creates the invitation, which you can see in your Conveyor instance, under "Individual Contacts".
Permissions
You should only show this button to the users in Salesforce that you want to have the capability of inviting people into your Trust Center.
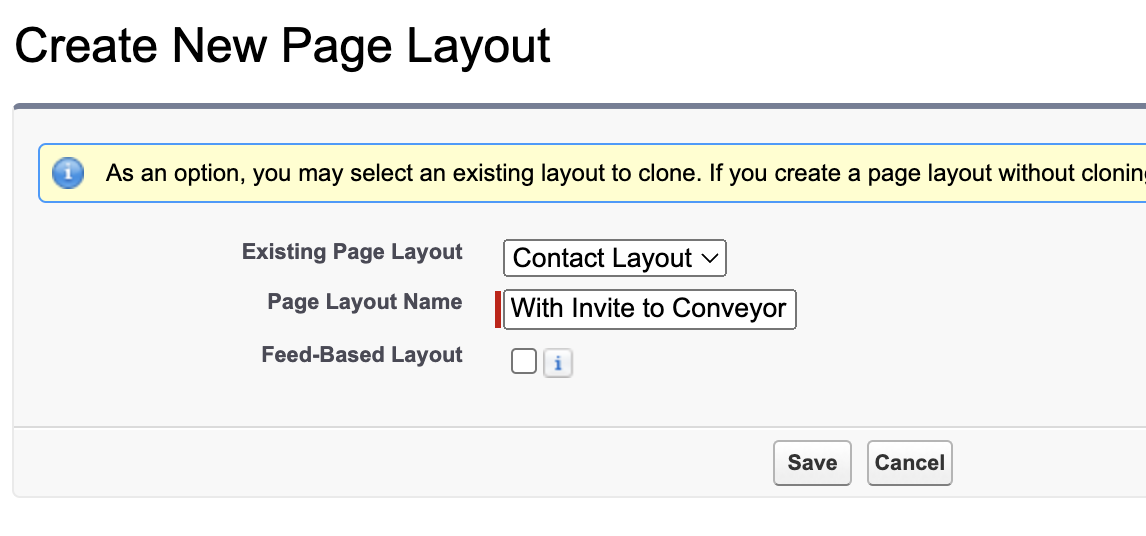
One way to set permissions using Salesforce profiles is to create a new Page Layout from your Contacts --> Page Layouts page. You can create a profile with the invite button and one without. Then, click "Page Layout Assignment" and you can specify which Salesforce profile sees which layout.
Updated 9 months ago