Adding a Questionnaire
Conveyor supports the automation of questionnaires in various formats, including spreadsheets, documents, PDFs, and online portals.
What should I expect?
Depending on your format, Conveyor works in a few different ways:
- For spreadsheets like Excel files and CSVs, Conveyor instantly imports the questions from the file and export the answers back into the original format for you to send back to the customer.
- For portals, Conveyor supports full end-to-end automation of question import and export for OneTrust, ProcessUnity, ServiceNow, and Coupa. We also support simple on-screen question import in all other portals.
- For documents like Word docs and PDFs, Conveyor instantly imports the questions from the file and can export the answers back to a Word doc
How to create a questionnaire
You can add questionnaires to Conveyor to kick off the question-answering process in multiple ways:
- Directly from the web app, by clicking "Add Questionnaire,"
- Via Salesforce,
- Via the POST Questionnaires API endpoint, and
- Via the Conveyor Browser Extension.
The easiest way to get started is by clicking the "Add Questionnaire" button directly on the Questionnaires tab in Conveyor.
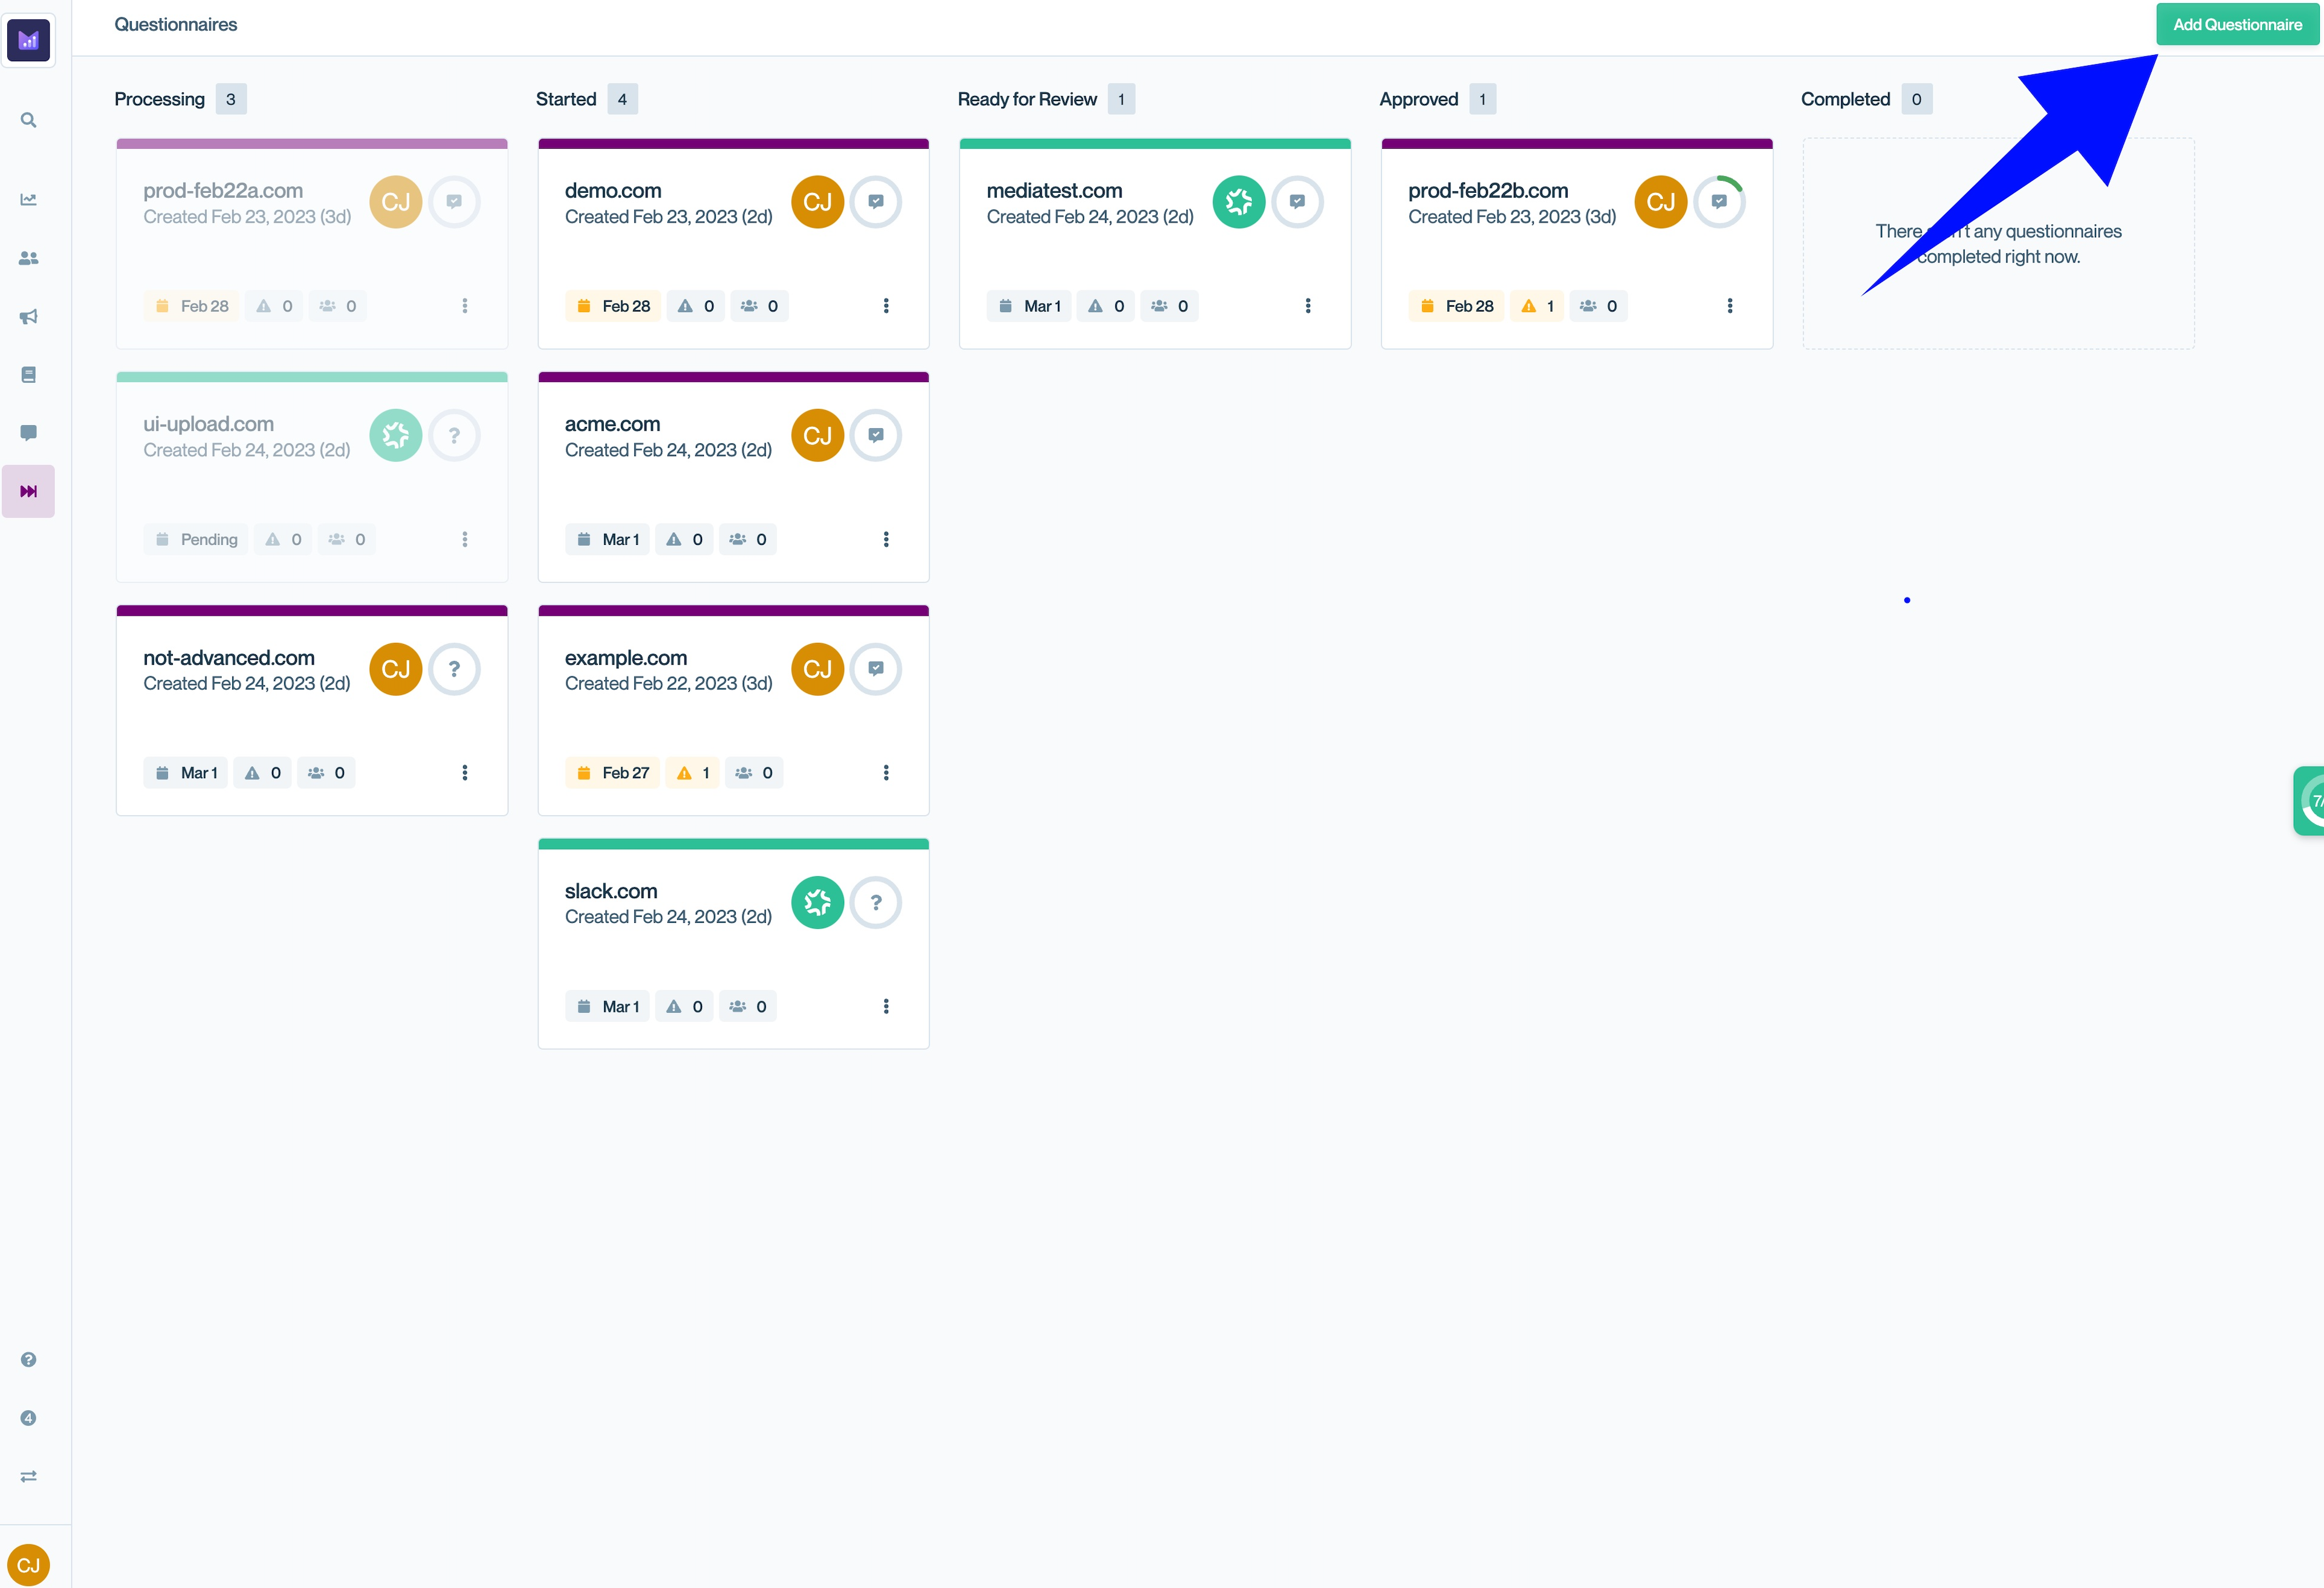
The "Add Questionnaire" button directly in Conveyor.
This button opens the "Add Questionnaire" modal, where you provide basic metadata to create a Questionnaire object.
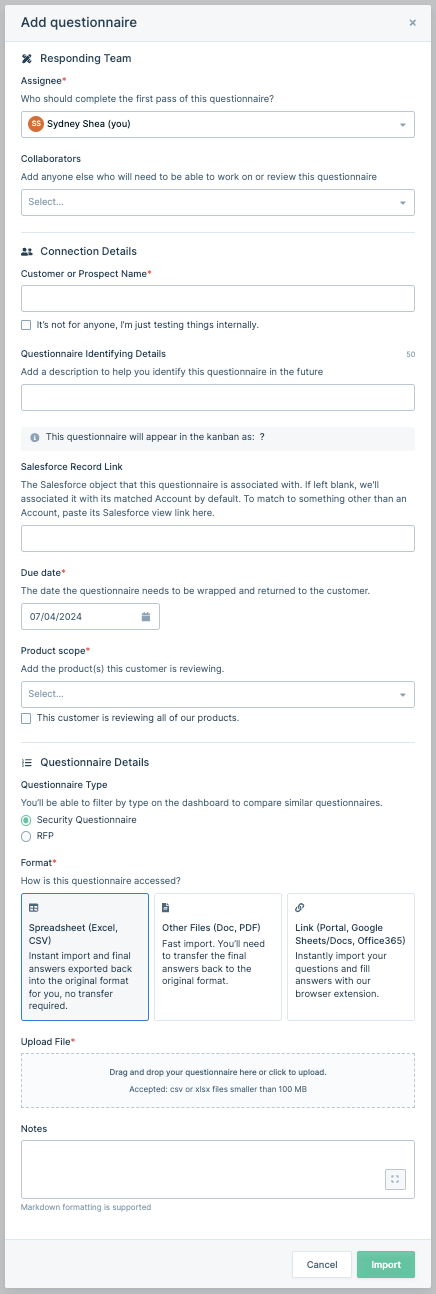
The "Add Questionnaire" modal, with all possible fields shown. You may or may not see some of these fields depending on how you have Conveyor configured.
The fields are:
-
Assignee: Who should take the first pass of reviewing the bot's output? Your username is selected by default, but you can assign the responsibility to anyone who is part of your Conveyor organization.
-
Collaborators: What other team members should be in-the-know about progress on this questionnaire? Anyone you add as a Collaborator will receive updates about this questionnaire as it progresses (e.g., from
StartedtoReady for Review). They will also be able to collaborate on the questionnaire with you, even if their Conveyor permission level would otherwise restrict their ability to view or edit questionnaires. -
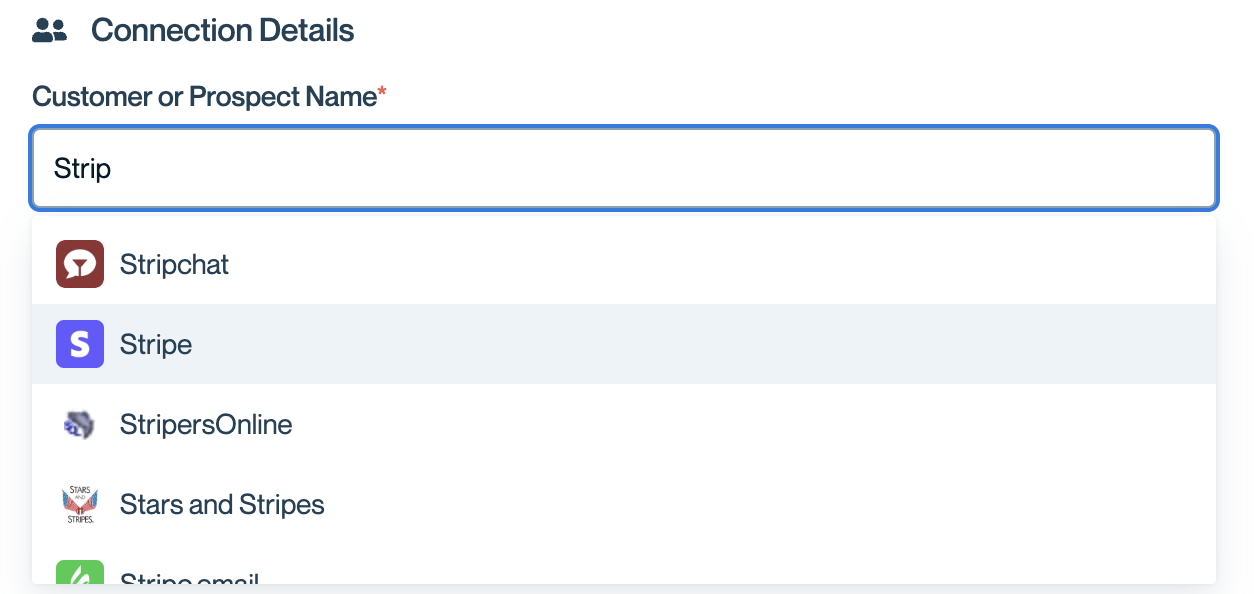
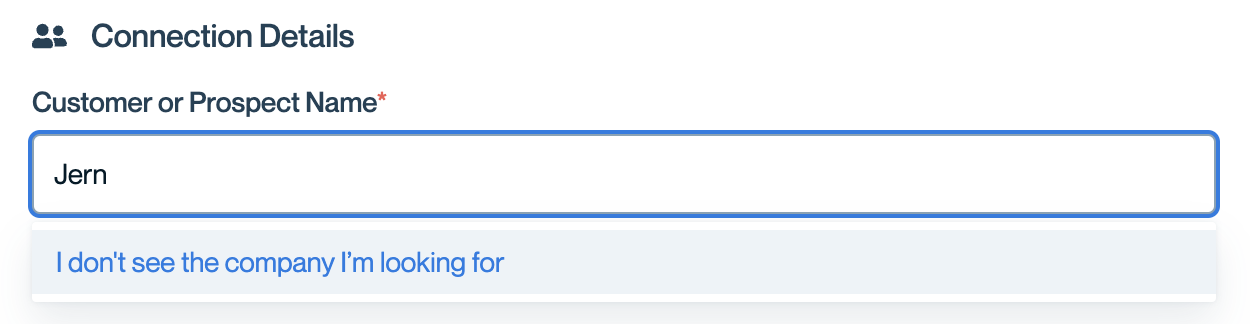
Customer or Prospect Name: What customer or prospect is this for? Begin typing to bring up a list of entities. If your customer or prospect isn't listed, click "I don't see the company I'm looking for."
-
- After entering the customer name, you'll enter the Customer web domain. This is for internal tracking only. This field will be auto-populated if you selected a common entity from the list above. If you use Conveyor's Trust Center to share documents with customers or prospects, you can then pre-approve visitors from this domain to access your Trust Center.
- Salesforce Record Link: This field will appear only if you have the Salesforce integration installed. This allows you to associate questionnaires to any object in Salesforce. For example, if you use Cases to track questionnaires, you can insert the link to the case here, and the Questionnaire status will be reflected on that object in Salesforce. (See our Salesforce documentation for more information.)
- Due date: This is for internal tracking only and can help you prioritize when you have multiple questionnaires.
- Product scope: If you have Product Lines configured, this field will be required to specify what product(s) the customer is reviewing as part of this questionnaire. (Select the checkbox if the customer is reviewing all your products.)
- Questionnaire Type: Choose between "RFP" and "Security questionnaire." You can use these properties to filter your dashboards by type of questionnaire.
- Questionnaire: Select the format of the questionnaire:
- Spreadsheet: For tabular data, such as files with .xlsx or .csv extensions.
- Other File: For other file formats, such as those with .pdf or .doc extensions
- Link: For web portals like OneTrust, or online files like Google Sheets. This option works best with the Conveyor Browser Extension.
- Upload File / Insert Link: Depending on which format you selected, you'll be prompted accordingly here.
- Notes: Optional field for tracking things such as portal login credentials.
Mapping for Spreadsheet Files
If you selected a Spreadsheet, you'll be presented with one more step: Importing Spreadsheets. That's because Conveyor supports exporting spreadsheets back to their original formats at the end of the questionnaire process; to do that, Conveyor needs you to confirm the structure of the original questionnaire upon import.
Email confirmation
Once your questionnaire has completed processing (regardless of the file type), you will receive an email like so:
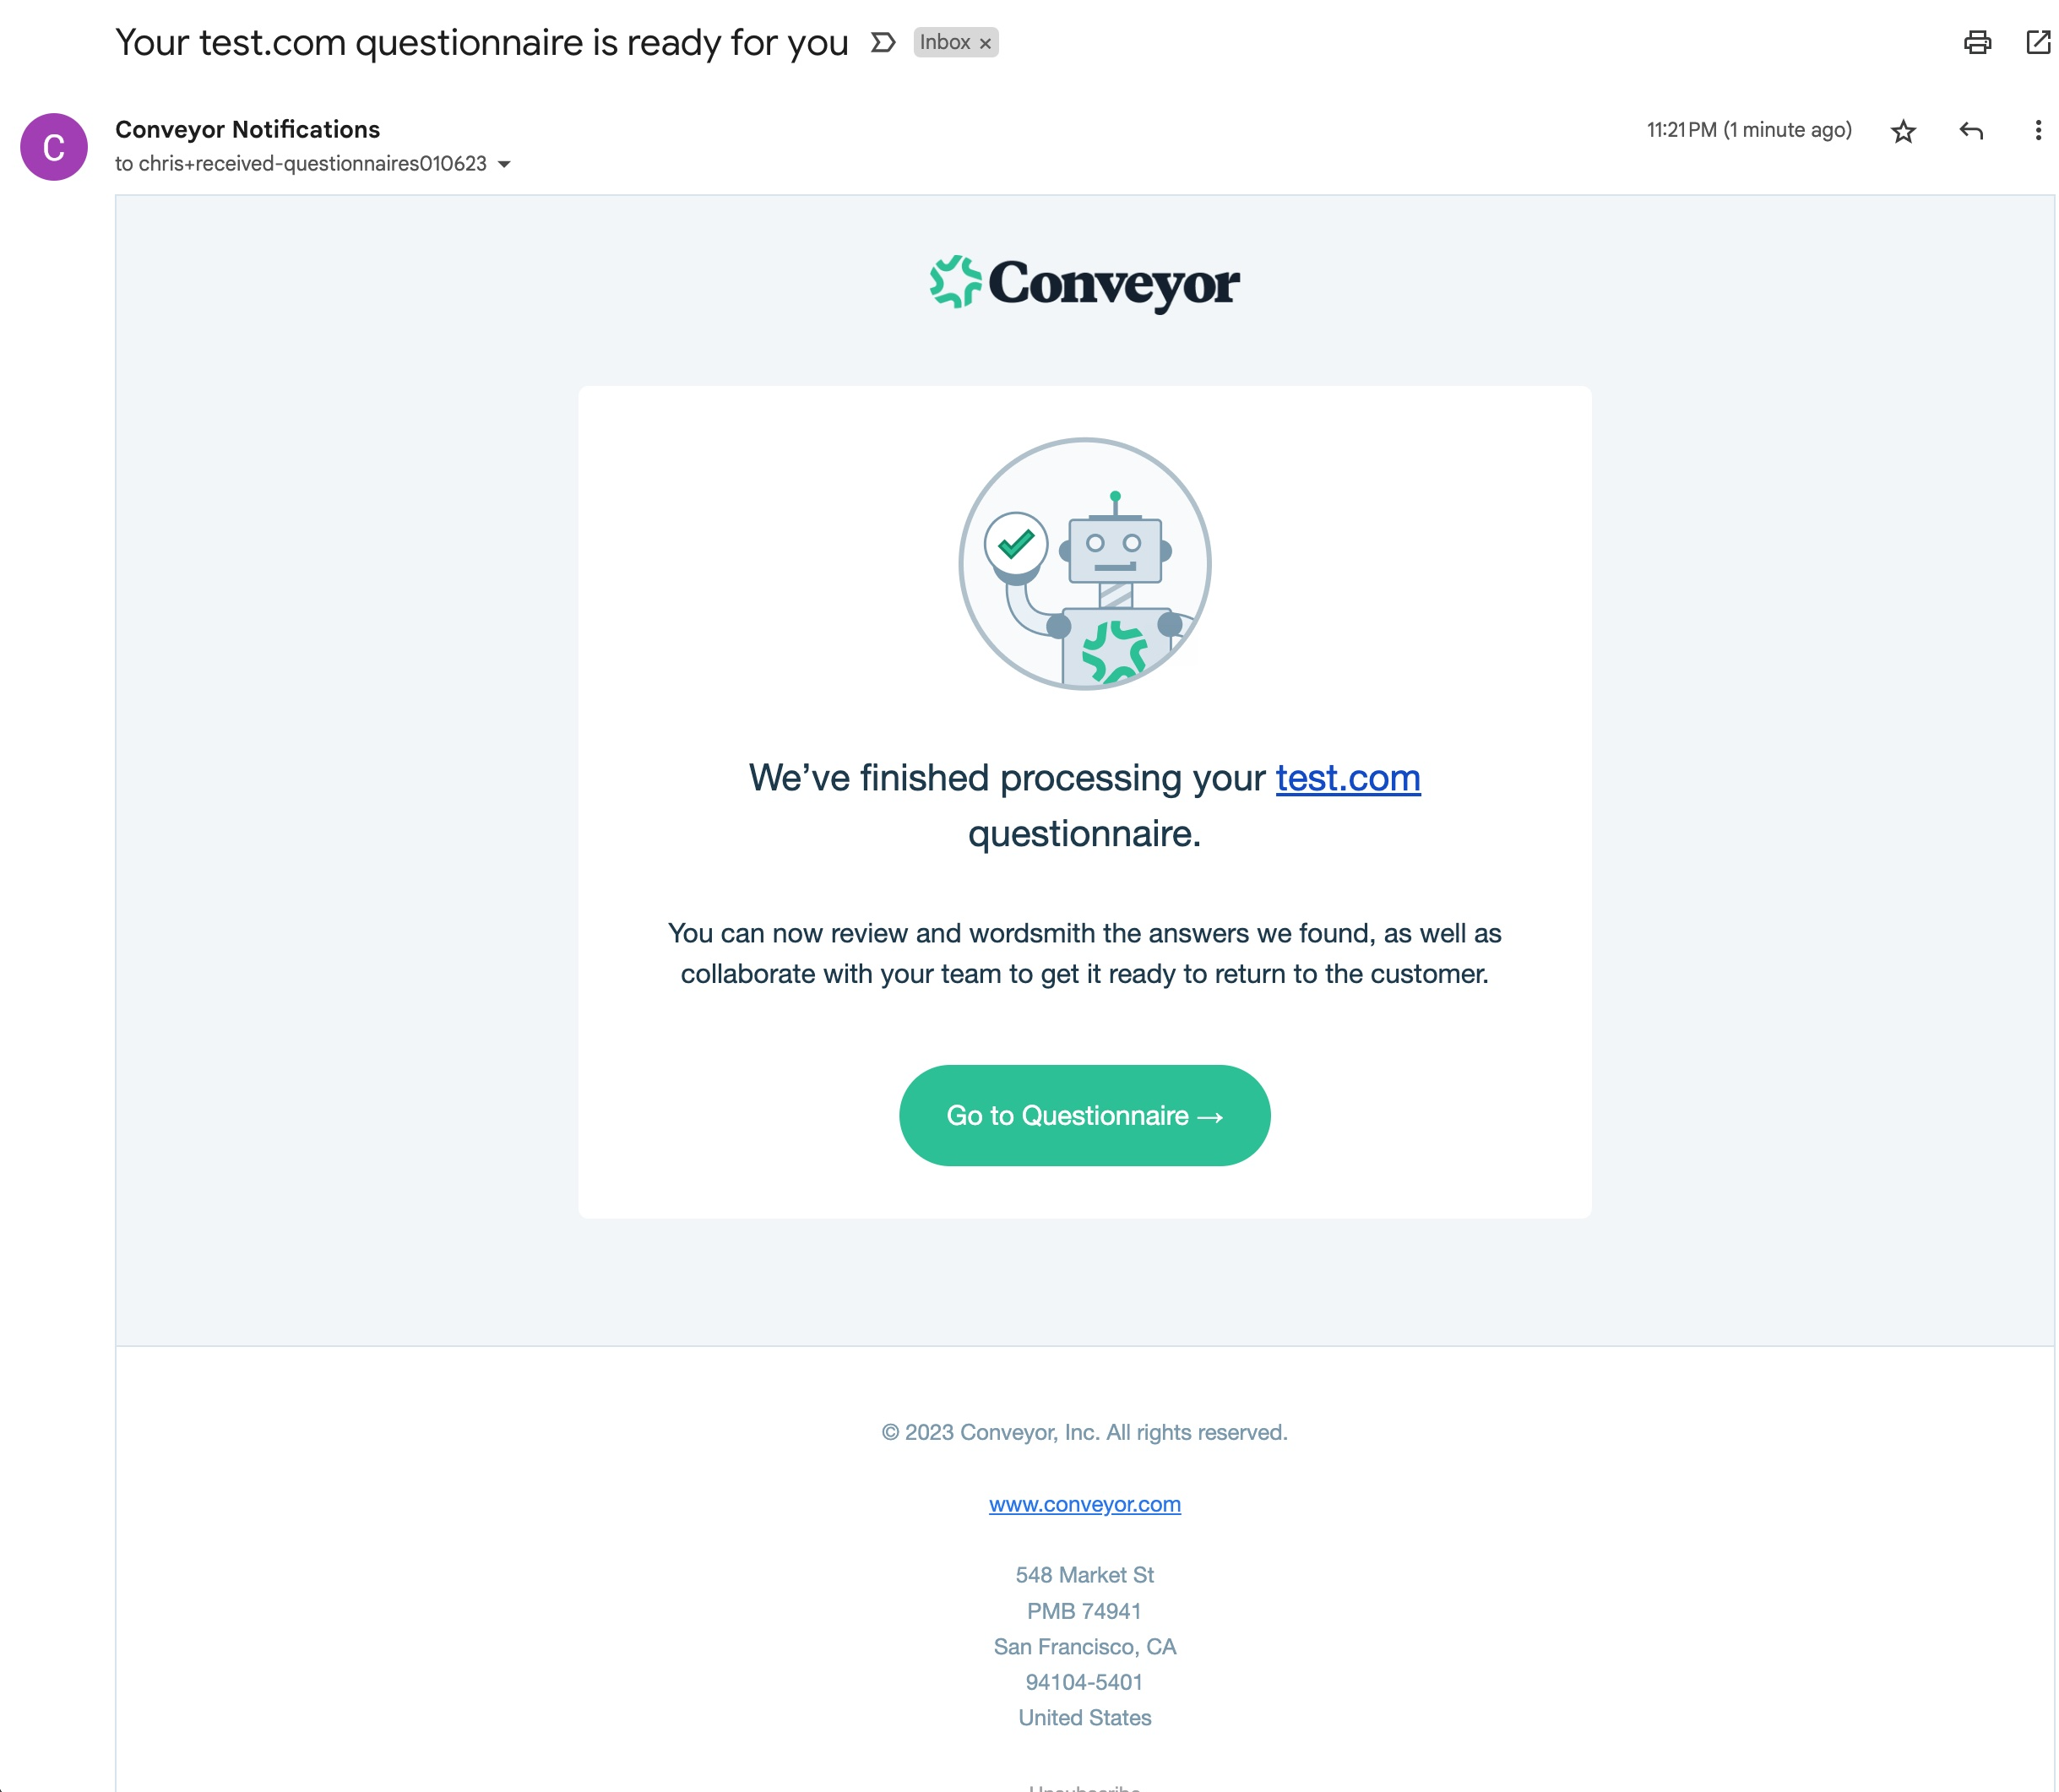
When ConveyorAI has finished answering your questions, you'll receive an email with a link to the results.
Updated 8 months ago